My employer asked if I was able to assist him in fixing a transmission housing. A small piece had broken off where a bolt fastens the transmission housing to the engine. The broken piece was long gone, so we were left with no other choice but to fabricate a new one.

Step 1 : Sculpt Broken Part using Modeling Clay
To begin this repair, the original profile of the broken part had to be reconstructed. This was achieved by shaping modeling clay with an X-ACTO knife and clay tools.


Step 2 : Create A Silicone Mold
Mold Making Plan

Materials

Making the First Half of the Silicone Mold
The first step in creating the silicone mold was to construct a clay border around the sculpted clay part. This border retains the silicone allowing it to cure around the part.

Silicone was prepared and poured over the part. Notice that I’m pouring from a higher elevation. Doing this reduces the amount of air bubbles that are trapped within the silicone during mixing.

I let the silicone cure for about 15 to 20 minutes before attempting to remove it from the surrounding clay.

You may notice some white and gray lumps in the silicone. These lumps are pieces of clay that were placed within the silicone to take up extra space. Doing this reduces the amount of silicone needed. However, I had to be careful not to place the pieces of clay too close to the sculpted part.

Creating the Negative Mold


Creating the Positive Mold
Once the negative mold was fully cured, it was removed from the clay border. The surface of the negative mold was prepared by applying a mold release agent and talcum powder. The talcum powder was brushed gently into all crevices. When pouring silicone over silicone, its important to have a thin coating of the talcum powder to allow mold separation. Excess talcum powder was brushed off and the negative mold was placed on the table. Another clay border was constructed around the negative mold and filled with silicone.


Step 3 : Lost Wax Casting

Two wax copies of the sculpted part where cast using the previously created silicone mold. These wax copies were adhered to a piece of cardboard with melted wax. A wax sprue and riser were attached to guide molten aluminium into the part. The cardboard was hot glued to a square steel casing. Plaster of Paris was prepared and poured into these casing to act as an investment material. The casings and their contents were placed on a shelf for a few days to allow the plaster to cure. I placed one of the casing into my forge and adjusted the temperature to the lowest setting.
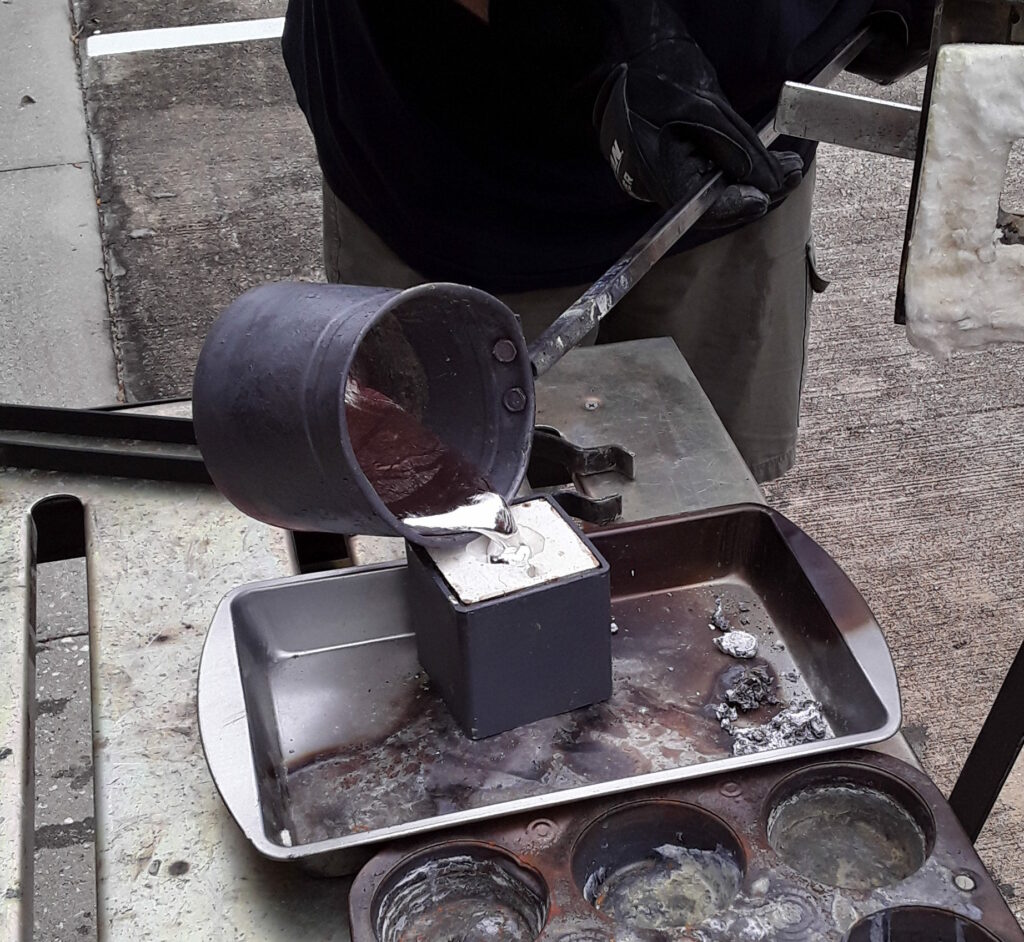
During the first hour, wax melted out of the plaster creating a negative cavity. Once the wax burned off, I increased the heat gradually over the next few hours to ensure the plaster would not fracture. During the last hour of heating, I placed a crucible filled with aluminum scraps into the forge. Within about 10 to 15 minutes the aluminium was melted and the plaster was up to temperature.


I removed the aluminium casting from the plaster when it was cool enough to touch. Below are a few images of the cast aluminium part. In these images you can see the sprue and the riser protruding from the part.


I gave the cast part to my employer and he was able to weld it to the transmission housing. Below are a few pictures of the final result.

