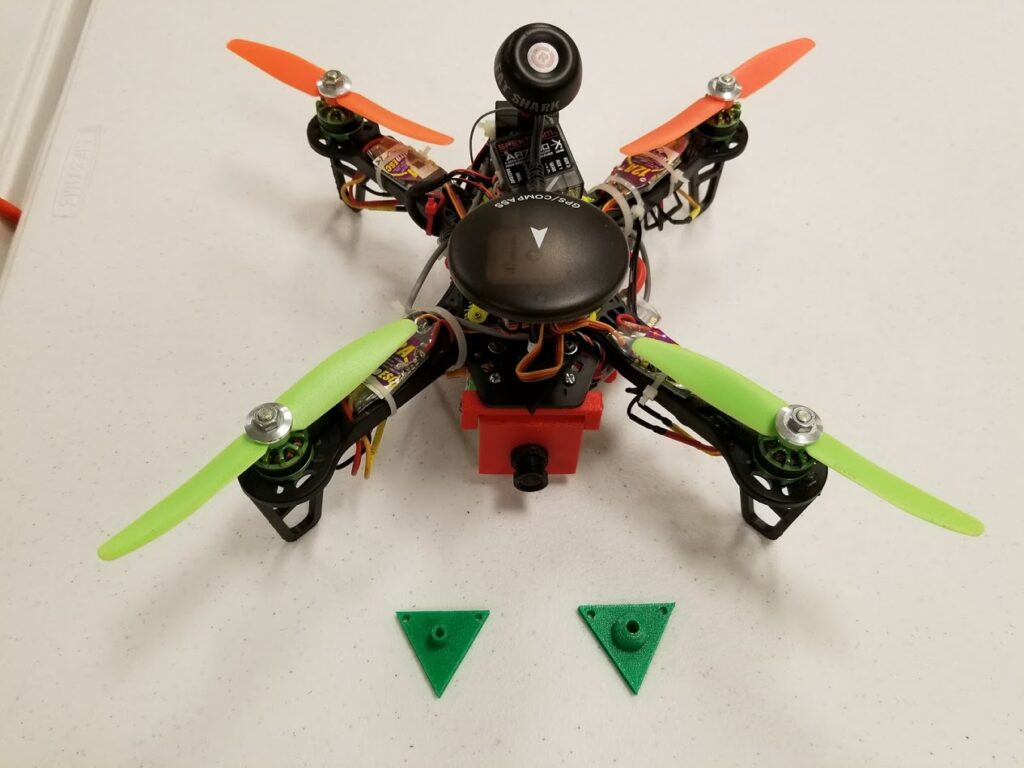
One of the many benefits of membership at the Melbourne Makerspace (or any makerspace really) is not just access to expensive and complicated tools like laser cutters and 3D printers, but also having access to other members with different skills to help you with your personal projects. I recently crashed my custom built UAV/quadcopter/drone and broke the mount that holds the GPS puck to the frame. Instead of trying to find and ordering a new one then waiting a week or more for it to arrive, I decided to try to 3D print a replacement. Then I could design it to be stronger in case of a future crash. AND if it does ever break I can very easily print another one. Instead of AutoCAD Fusion 360 I decided to go with CAD in the cloud called OnShape. Just go to www.onshape.com and create a free account. Then you can log in from any computer and work on or show the things you’ve made. No need to email or pass files around. I had to watch a bunch of their tutorial videos but after that I was able to create the shapes I needed for my part and extrude it into 3D. Then it has an export option that let me save it as an STL file that the 3D printer needs. 45 minutes of printing later I had my part. I immediately noticed that the hole was too big for the GPS boom and would just fall out. This is where the rapid prototyping benefit of 3D design and printing comes in handy! I made a quick change in the hole diameter in onShape, exported again, and printed again. 45 minutes later I had a 2nd version of the part. This time I also added some extra material around the hole to make it stronger. But again there was an issue with the distance between the frame mounting holes to mount easily without forcing the screws in at a slight angle. I added a few fractions of a mm to the distance between the mounting holes and printed a 3rd time. Each change in onShape took 1 minute but another 45 minutes to print. That seems to be the way these prototypes work out. Quick changes in the 3D design followed by long print times based on the size of the part and how much infill you set to go into the hollow parts. Regardless, it’s much faster and way cheaper to do it this way instead of waiting days or weeks for the 2nd and 3rd version of the part to ship from somewhere else. In this case, the 3rd time was the charm and it worked great. In order to make it easier to remove for later repairs and the option of flying without GPS I used white plumber’s tape to make the GPS boom friction fit into the bracket hole.
Here’s some pictures of the 3 versions of the part and a link to the full album showing all the build stages of my drone.


Full Album: https://goo.gl/photos/TzL72pZueFobSXMX6